
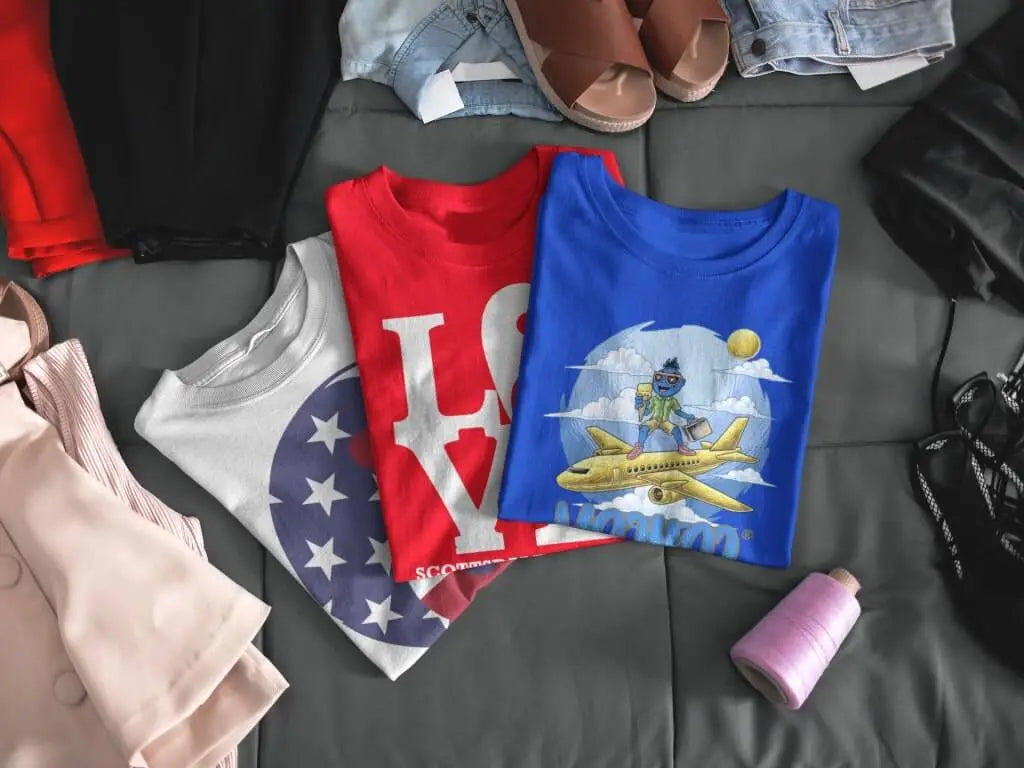
T-shirts are one of the most popular clothes that everyone loves to wear. They come in a variety of colors, sizes, designs, and patterns making them versatile. However, how many of us have problems with how to fold t-shirts? If you’re one of those who has no idea how to best organize your t-shirt drawer then this article is for you. First, let’s answer some questions about how to fold t-shirts to save space. How many of us have extra t-shirts at home? How many of us don’t know how to organize them most effectively? How many of us simply toss them inside a drawer after wearing them and make a mess out of them every time we want to wear one? Millions! It’s not an exaggeration. With the popularity of t-shirts, people tend to buy more than they need just because they’re affordable and look good in them.
Well, I’m going to share with you how you can easily organize your t-shirt drawer with these ten methods of how to fold t-shirts. It’s a simple, easy guide that you can follow even if you’re a complete neat freak or a total klutz!
Here are 10 methods of how to fold shirts:
- The first is when you’ll fold the shirt in thirds to make it look like something you’d find at a department store. Begin by:
- Laying the shirt face down;
- Take the sleeves and tuck them into the top of the shirt;
- Then, fold the shirt in thirds, starting on the right side and working your way to the left; and
- Finally, fold the bottom half of the bottom half upward over the top half of the top half. When you turn the shirt over, it will resemble what you would find in a store.
- The second and much faster method is simply begun by:
- Folding the garment into fourths;
- Then, after the sleeves have been collapsed, fold them in half from one side to the other, then top to bottom. This is a great method to organize your shirts in your bureau and keep many of them the same size, so they’re easier to pack and store.
- The third is “Average Fold” Method: This is the most basic method and is used by most individuals. Start by:
- Laying the t-shirt flat, face down, with the top of the shirt facing you.
- Fold the shirt in 50 percent from left to right, then in half again from right to left.
- Fold the garment in half from the bottom up.
- At this point, you can either stop or fold it in half again to save space.
- Turn the shirt inside out, and you’re ready to go.
- The fourth is “army roll” method, sometimes known as the army roll, is popular in the navy because it makes optimal use of space. Start by:
- Laying the shirt flat, face-up, and folding the bottom of the shirt up 3-four inches.
- To avoid creases, smooth out the cloth and fold the garment into thirds. Begin by folding the left side over the center.
- Fold the left sleeve back over the center of the shirt.
- Repeat with the right side, bringing it over to the center before folding the right sleeve back to the center.
- You’re now ready to get rolling. First, begin rolling at the collar end, making sure the roll is smooth and tight.
- When you reach the end, undo the fold you made at the bottom of the shirt and tuck it over either end of the roll to secure it.
- The fifth is the “Marie Kondo-Style”: Marie Kondo, the creator of the KonMari Method, is well-known for her organized and space-saving methods. Her cloth folding techniques are particularly handy for packing and storing objects in tight spaces or spaces with a lot of stuff.
Marie Kondo’s KonMari method has been bringing joy to households all around the world since it first aired on Netflix. Likewise, Marie Kondo’s Tidying Up prompted viewers to get off the couch and clean their homes, including their shirt drawers.
These are the steps of folding a shirt in Marie-Kondo style:
- Place your ironed shirt, front side up, on a level, wide, smooth, clean surface.
- Run your hands over the surface of the shirt to smooth out any creases or wrinkles.
- Smooth out one side of your shirt by folding it vertically across the center.
- Smooth any creases or wrinkles in the sleeve by folding it on top of the folded region.
- Fold the other side of the folded side over the folded side, making sure you don’t reach the edge, and you’ll have a rectangular folded shirt.
- Make any creases or wrinkles disappear.
- Smooth out the sleeve by folding it on top of the folded region.
- Fold the top section of your shirt horizontally, leaving at least 2.54 centimeters or an inch of the edge uncovered by the folded part. They should smooth any creases or wrinkles out.
- Fold the top part again as in step #8. There are three layers of folded components now, as well as two spaces at the bottom. Again, any creases or wrinkles should be smoothed out.
- If you have an extra-long t-shirt, repeat step.
- Smooth out the bottom of the shirt by folding it upwards, using the center of the second layer as a guide.
- Place your folded shirt, with the edges at the bottom, on top of the flat surface.
- If the t-shirt stays up, move on to the next one. If not, repeat the procedures with a slimmer rectangle and a shorter or longer fold height.
- The sixth is the “Sideways Column” style: This method is based on folding the garment vertically in half. Begin with:
- Your middle and index fingers grabbing each shoulder, hold your shirt up with the front-facing you and the front of the shirt facing you.
- Fold the shirt vertically in half by bringing the back shoulder corners together.
- Fold the sleeves together across the top of the T-shirt so that they meet the collar at the spot where it has been folded. The T-shirt should now be in the shape of a single continuous column.
- Align the top of the T-shirt at the collar with the bottom at the hem to fold the column in half.
- The Double-Shoulder Method: This method is utilized in many retail T-shirt stacks, although with a little more care and precision than you might be used to at home. Start by:
- Holding your shirt up to your face, with the front-facing you and your middle and index fingers clutching the front and back of the shoulders, respectively.
- Mark where you want to fold with your index finger.
- Keeping the garment up, fold each sleeve and side inward across the back of the T-shirt with your middle fingers, folding where your index finger is. This can be done on both sides at the same time. The shirt sleeves and sides will be touching when finished, but they do not need to be crossed.
- Lay the partially folded shirt flat on a flat surface, front down, and collar closest to you.
- Fold the garment in half by gripping the end nearest to you and aligning the collar with the bottom hem. As a consequence, you’ll have a folded rectangle of T-shirts facing outward.
- The eighth is the “Second Fold Method”: This method produces a fantastic-looking fold in such a little time that it’s almost a magic trick. Begin by:
- Lay the garment flat on the table, smoothing it out to remove any wrinkles. Next, imagine two lines, one running down the center of the garment and the other running end to end between the neckline and the left sleeve.
- The intersection of the lines will be point A, the top of the shirt will be point B, and the tip of the shirt will point C. Pinch point A with your left hand while standing on the right side of the garment.
- Take hold of both the top and bottom layers of fabric. With your right hand, pinch point B, then bring point B down to point C. Uncross your arms and place the shirt face down on the table now.
- Fold the shirt using the table until you have an even amount of fabric on both sides. You can fold it in half again in the center if you want to save some space.
- The ninth is the “Chest Fold Method”: It may seem impossible to fold a t-shirt perfectly while standing up, but it is doable with the Chest Fold. Fold the top side of your shirt down, then fold the top and bottom together to form a square, and pull it onto your chest with the front-facing you. Finish by flattening it and folding the entire garment over!
10. The tenth is the “The rolling fold”: This method is best for those who want something quick and easy! First, place your clean and dry shirt front down with its sleeves touching the table or scrunch up towards yourself. Then, grab a section of shirt from either side about 2 inches wide and pinch both sides making them meet in the middle of where your fingers are positioned. Continue until t-shirt is completely folded then go ahead an roll into a ball before finally squeezing tightly to make it compactable. Finally, keep rolling until t-shirt is as round as you would like it to be before completely folding
As long as you have the motivation, these are all helpful ways to save space while organizing your t-shirts. If you feel like one isn’t working well for you, then try another one out – there are plenty of ways for how much space does a shirt takes up in your drawer how many shirts can you fit into 1 drawer. These 10 methods are just some of them, along with other options that may work better for you depending on where the drawers are located and should be folded shirts should be folded you prefer to fold your t-shirts.
Hope this article is helpful and good luck! 🙂 If you ever order custom tee sets, make sure they are no bigger than 16″ x 16″, otherwise, they will take up too much space and it’ll be hard to keep them organized in a drawer. If you like this article, feel free to check out more articles on our blog, WooHoo Apparel! Thanks for reading! 🙂